Water Marble Nail Art for Kids
So a couple of years ago I produced a video on water marbling that I thought might be quite a popular tutorial. I had no idea that 2 years on it would be so popular that it would have over 3 million views and have been shared all over the world! However, back when this was originally filmed it wasn't the best quality. I was new to water marbling and back in the day I used to film my videos with my iPhone on a foldaway table (which shakes throughout filming!) and edit on my iPad! Times have moved on a bit, and during this time I've read all the comments on You Tube and taken them on board. The result is this fantastic tutorial using the Models Own Colour Chrome Collection showing you how to produce easy and perfect water marble nail art. I hope you enjoy it and tag me on twitter and Instagram #NatashaLeeBlogger to show me your versions 🙂
Chrome Water Marble Nail Art
I have tried and tested this method repeatedly and it works perfectly each and every time. The Models Own Colour Chrome Collection are the best polishes that I have ever used for water marbling as they spread perfectly and don't dry too quickly.
What You Need
Water Marble Nail Art – How?
-
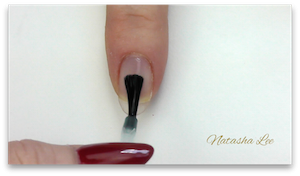 After filing your nails into your preferred shape and doing to your cuticle work, apply basecoat to all 10 nails and allow to dry.
-
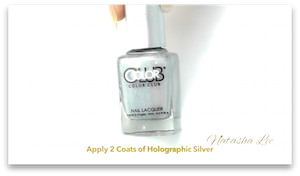 Next apply 2 layers of a silver holographic polish, my favourite is ColorClub Harp On It. Allow the first coat to dry before applying the second.
-
 Once your polish is dry, generously apply a Peel Off Basecoat on the skin around the nails and allow to dry. It will turn clear once it's dry. You might find it easier to do one hand at a time.
-
 Fill your dish with room temperature water. If you live in a hard water area then use bottled water. There are maps online to help you if you aren't sure about the water supply where you live. Shake your polishes well, then unscrew the lids and leave them resting on the neck of the bottles and place them next to your dish so that you can work quickly. Have your dotting tool/cocktail stick close to hand with a pad soaked with acetone/remover ready to use.
 -
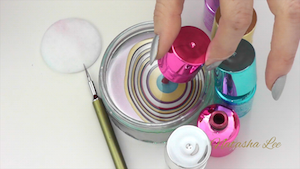 Now for the fun!! Simply let one drop of polish colour drip off your brush into the water, aim for the centre of the bowl ideally. Continue applying a drop of polish to the water with each colour you chose to use in your design. These polishes are simply the best I've ever used for water marbling and they are pretty much fool proof. Just hold the end of the brush close to the water and let it drip in. In fact, you can actually touch the surface of the water with the brush to transfer the colour quickly! Apply as many drops as you like, but the more drops of alternating colours, the more detailed the finished design will be.
 -
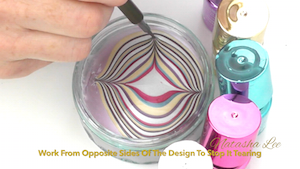 Once you've finished dropping your colours into the water, take your fine dotting tool and starting at the centre polish circle, gently pull the tool through the colours out to the sides of the bowl to anchor the design to the bowl. Ideally work from opposite sides to stop the design tearing. Clean your tool on your pad soaked with acetone after each completed stroke. This helps to prevent the design from getting messy and tearing.
 -
 To finish creating your design, place your tool into the second colour in on your design. In other words if the first colour you applied to the water was pink, then gold, place your tool into the gold part of the design and pull the tool across to the centre of the bowl then dip it down in the centre to anchor the design. This again is to prevent the design from tearing.
 -
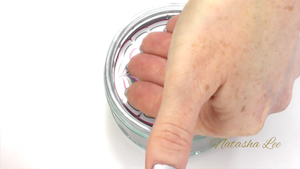 Once you have finished your water marble nail art design, you are ready to transfer the design onto your nails. You can either do this one nail at a time and create a new design for each nail, or you can put 4 nails in at once and do your thumbs separately. I decided to apply mine to 4 nails at one. Hold your nails over the water at a 45° angle (this is to prevent bubbles and tearing) and slowly lower your nails into the water and hold them there, ideally without touching the bottom of the bowl.
 -
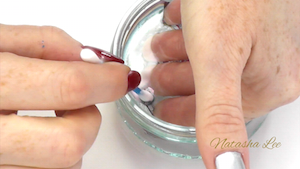 Take your cotton bud or QTip, and use it to gently remove the excess polish from the surface of the water.
-
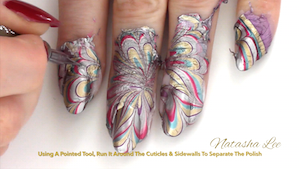 Then simply remove your fingers from the bowl. Take your clean fine dotting tool, and just run it carefully around the cuticle area and side walls to separate the polish on the nail from the polish on the skin.
-
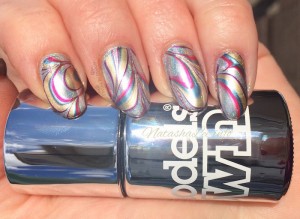 And here is that amazing finished design. I adore these, especially the way the holographic base colour peeks through and twinkles in the light! You can have fun trying different combinations of colours. Don't forget to tag me in your designs #NatashaLeeBlogger. In the meantime, stay tuned to find a really easy way to have water marble effect toes!
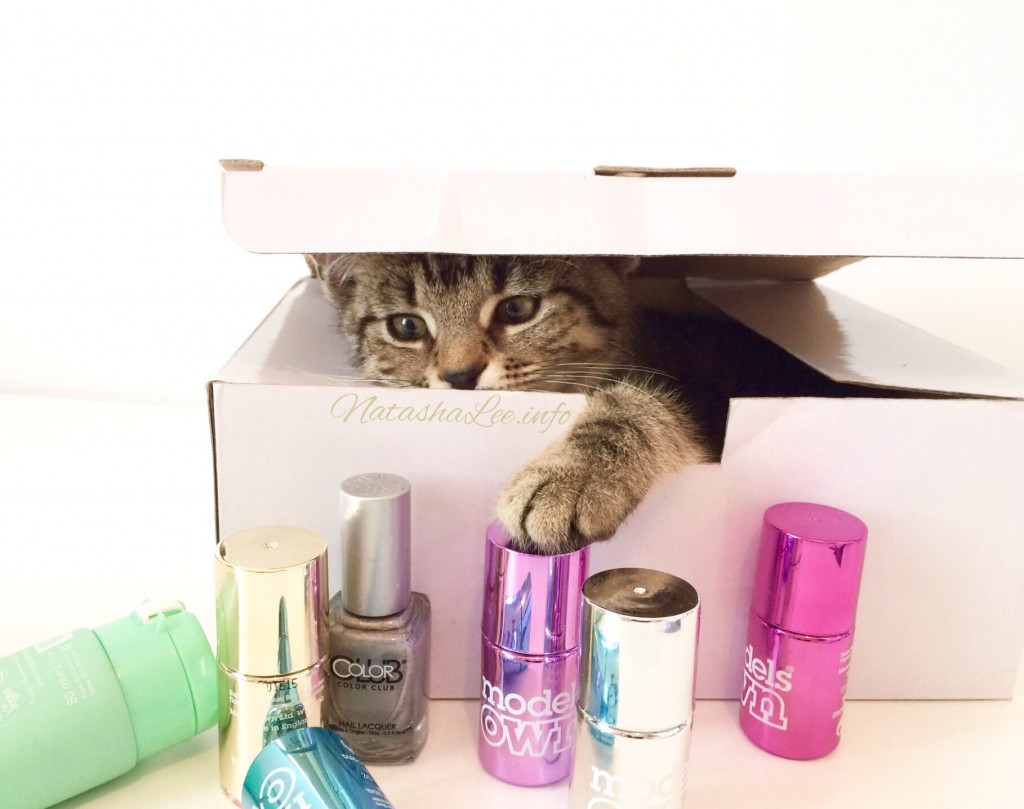
NB: I thought I'd give you a little peek at my "helper" today…….Blog Cat strikes again!!
How To Water Marble Your Toes!!
I had so many comments on my previous video asking if there is an easy way to do water marbling nail art on toes, so I thought I'd show you a little hack! Now as my toes are already super blingy at the moment, I've used my thumb to demonstrate the method for toes 😉
-
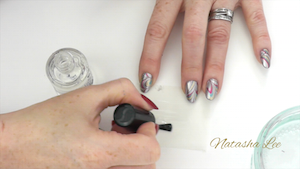 First you are going to need a piece of waxy/shiny paper. I like to use the old backings from nail forms. Apply top coat thinly to the shiny side of the paper and leave to dry. Apply base coat and 2 layers of colour coat to your toe nails, allowing each layer to dry.
-
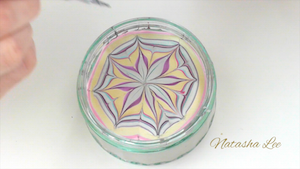 Next create your complete chrome water marble nail art design as explained in the fingers section above.
-
 Once your polish has dried on your shiny paper, place it polish-side-down onto your design and lightly tap down so the whole of the paper covers the design.
I hope you've enjoyed this blog showing you how to create stunning chrome and holographic water marble nail art. I had so many comments about these nails when I wore them after filming the video, I think they were my most popular set of nails ever! If you would like any extra help with your water marble nail art, then there's an easy to follow video tutorial at the top of the page to help you out 😉 Don't forget to tag me in your designs #NatashaLeeBlogger 🙂 xNx
Water Marble Nail Art for Kids
Source: https://natashalee.info/water-marble-nail-art/
0 Response to "Water Marble Nail Art for Kids"
Post a Comment